
What’s the first thing that catches your eye when you scan a website?
I am sure that like me, the website design is that eye candy factor for you. On the other hand, the UX of your website is also important, as it determines the average time a user spends on your website.
Therefore, to summarize, a website should be visually appealing with an easy User Interface (UI), which requires a tremendous amount of coding. But, for most people coding is a daunting task.
This is where Webflow makes its mark.
Webflow is a platform that provides seamless design opportunities which require no coding.
Yes! You heard it right! No coding at all.
And as their agenda goes, “You design and we’ll build the code for you”.
Webflow also provides a flexible CMS so that you can build a perfect blog, portfolio, or e-commerce store without having to worry about the code.
Although Webflow is a no-code platform, you might get lost in its vast UI. No worries, we are here to assist. With our tips and tricks, you will ace Webflow and have the most eminent website.
Whether you are starting out with Webflow or you are already an avid user, these 8 tips will help you create your dream website.
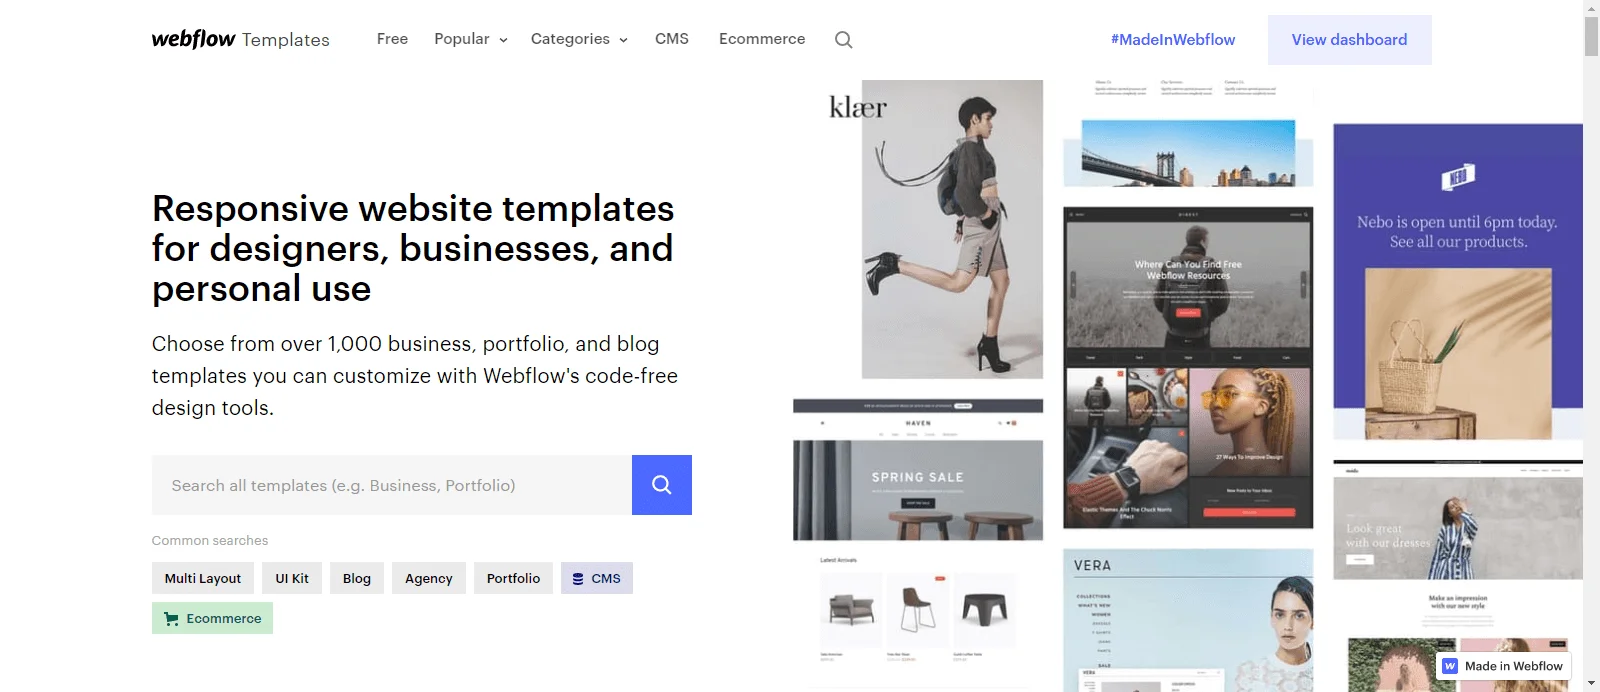
Consider this scenario; you have been given a cheat code for a game wherein the elements will run according to your choice and you aren’t constricted by the rules. This is the scenario with Templates that Webflow provides as it takes away your head scratching with its pre built website designs.
Just click here to explore a plethora of creative avenues.
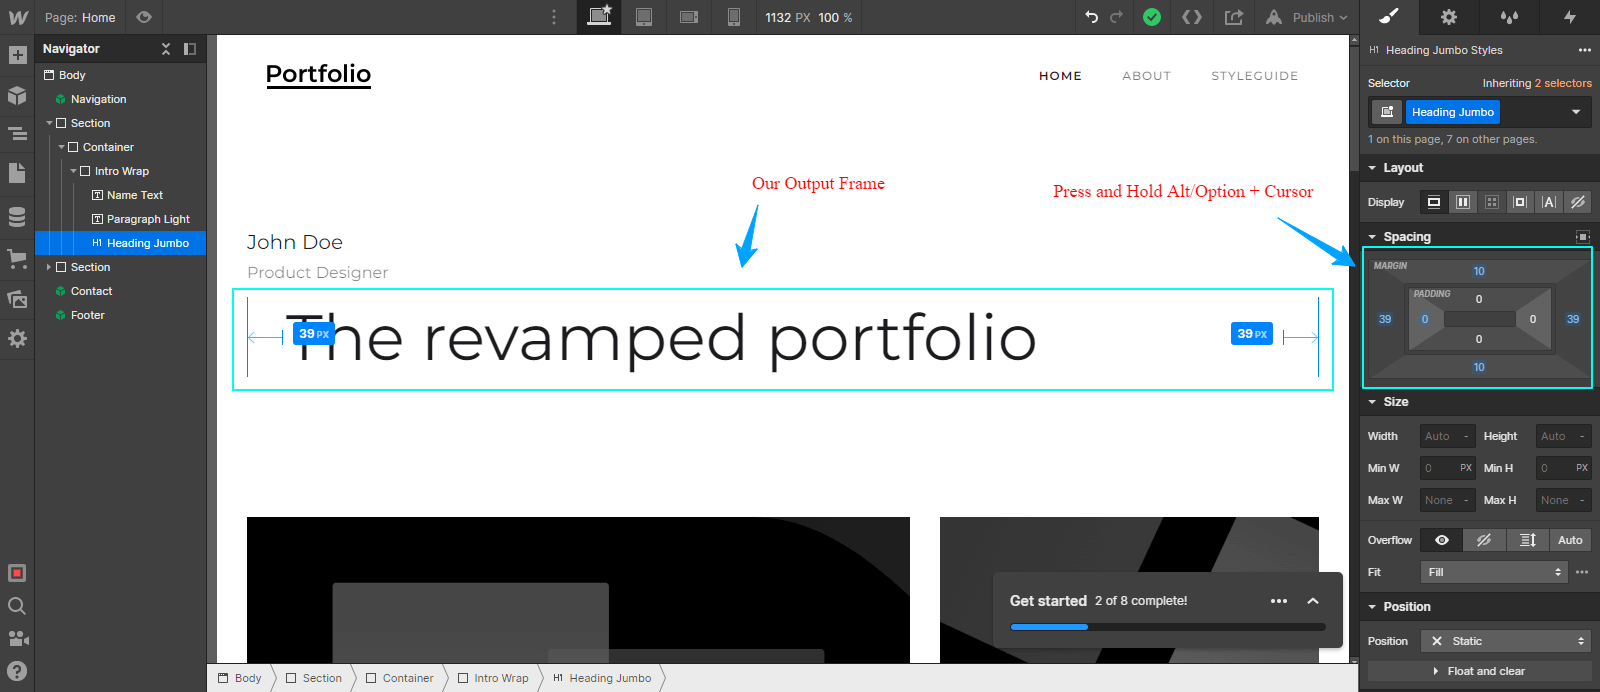
Setting the margins manually for each side is not the best way to be productive. It is a time-consuming process. Instead, you can simplify this process by,
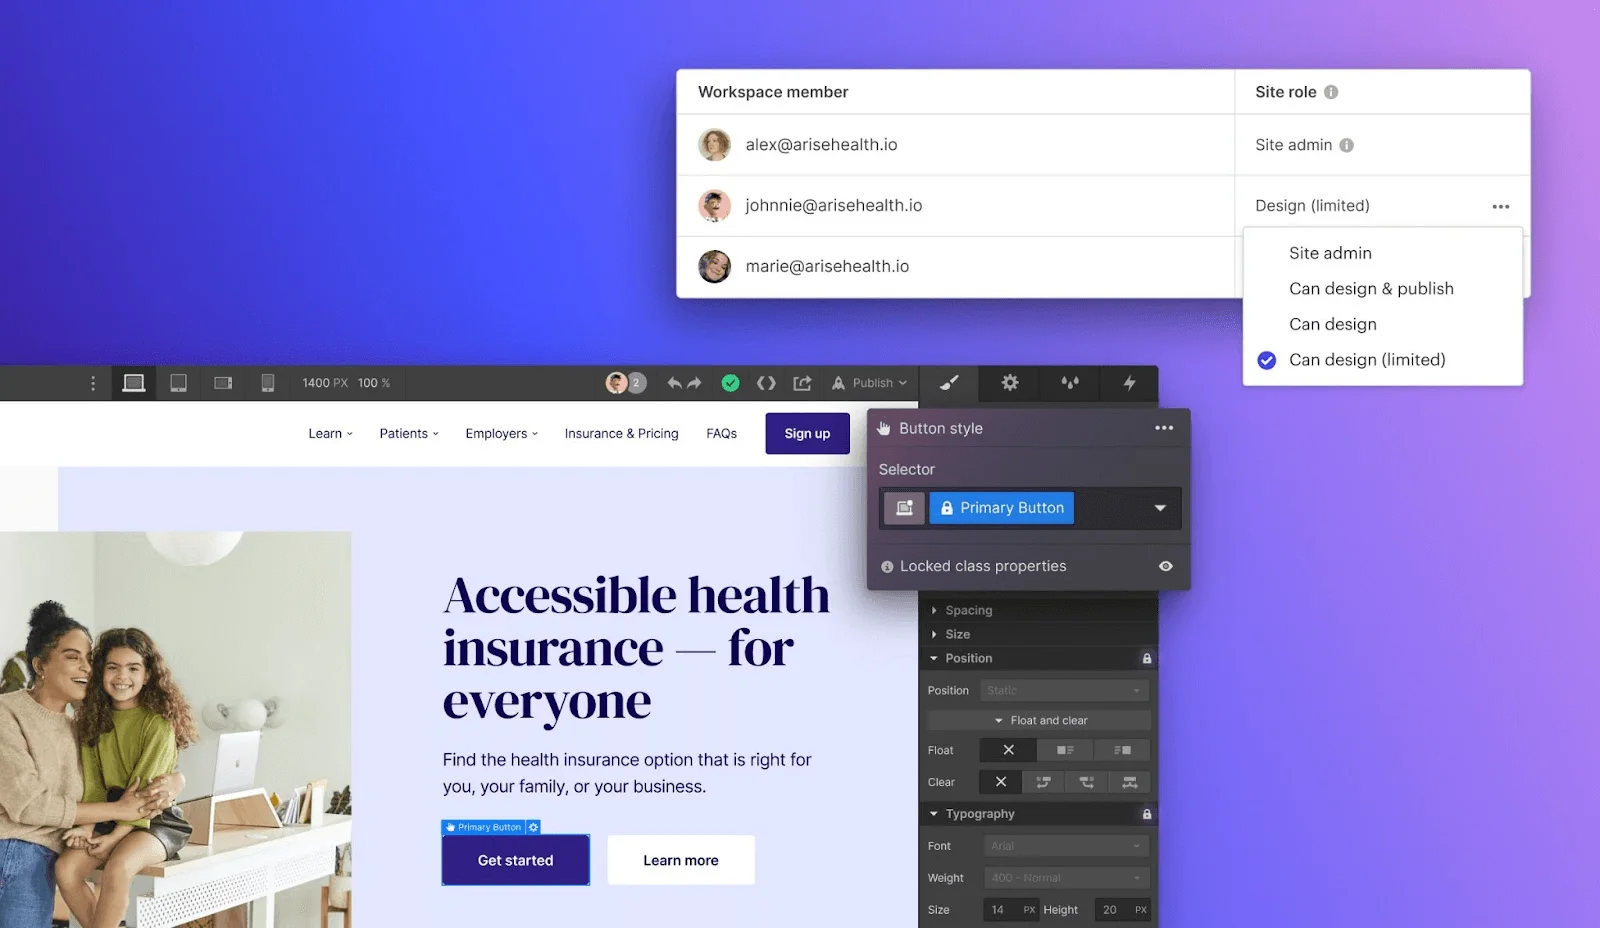
Your website design is the direct output of your ‘sweat and time’, and you wouldn’t want it to be altered or the design to depreciate. This can happen when your teammate snoops around your design.
Not to worry! The gavel rests in your hands as you have the power to say “Order-Order”.
Just like Google Docs allows you to give permission to others to view or edit a document, so does Webflow. It provides you the option to enable permissions for your teammates such as,
There was once a situation wherein I had to mirror the project with minor changes, and I went through the trouble of recreating every element step by step. Copying did help, but it still took me hours.
The idea that Webflow has a feature of duplicating the elements didn’t hit me at the time 🙁
But, you don’t need to be a victim of this unproductivity. Instead, you can just drag and drop the elements by,
Webflow is already an enormous tool that offers you an expansive array of web design functionalities. But, it can also act as a tool for conversion or lead generation which is possible with Integrately.
Seems like a revelation, doesn’t it?
Well! Let’s learn how this can come to light 🙂
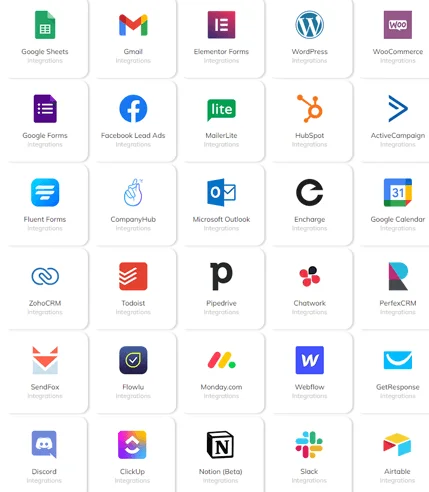
Integrately paves the way here. It is an automation platform that helps you set up your workspace with millions of ready integrations to vastly enhance your productivity and save your time. For example, you can connect Webflow with Salesforce, so that whenever a person submits a form in webflow, a lead or opportunity will be generated in Salesforce.
Integrately provides more than 8 million ready-to-activate automations for 900+ applications.
8 Million+ Ready Automations
For 750+ Apps
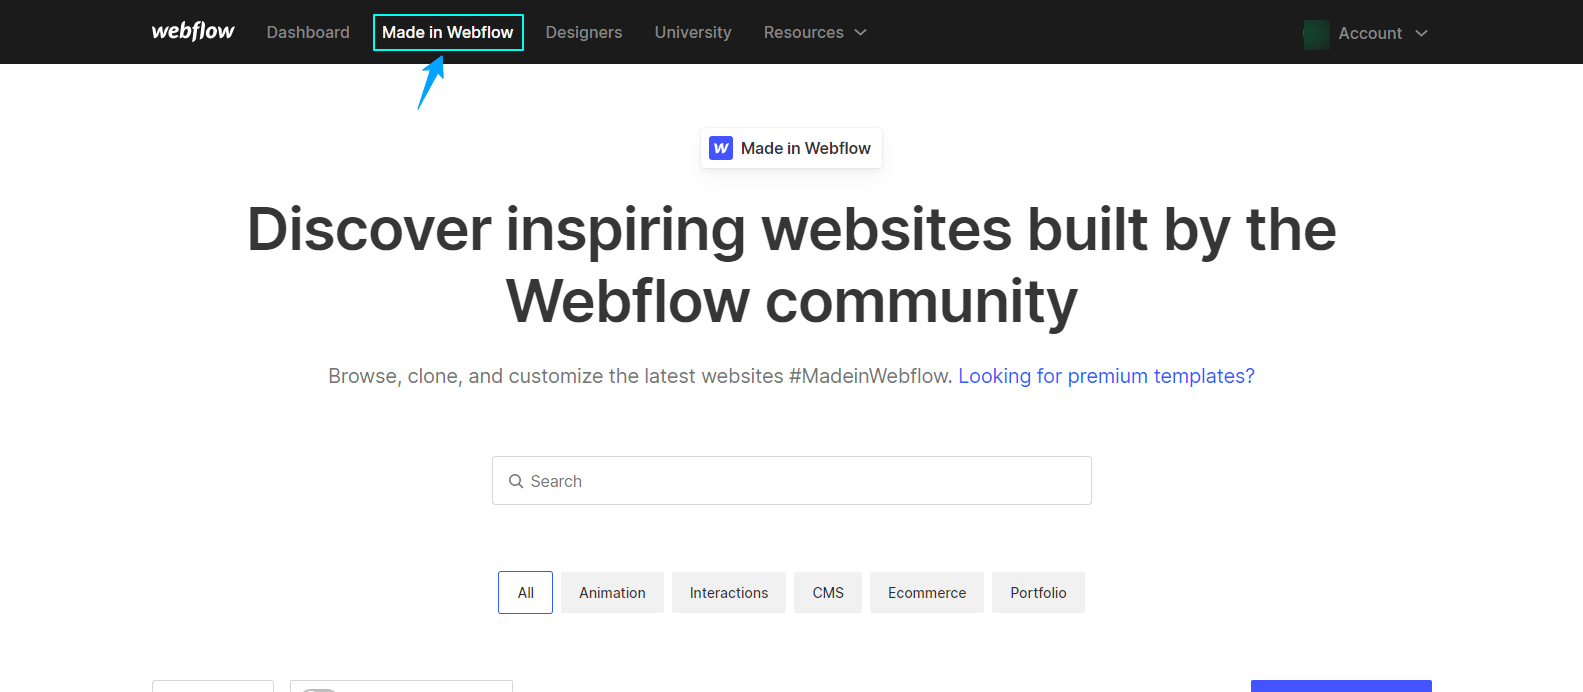
Inspiration can be a byproduct of anything that you observe around you. But why scratch your head and stress yourself for hours to stumble on an idea?
Instead, you can just head to the Made in Webflow section which is brimming with creativity. This page shows all the designs made using Webflow. So, who knows, which idea may spark you?
So, don’t be shy to look around for inspiration 🙂
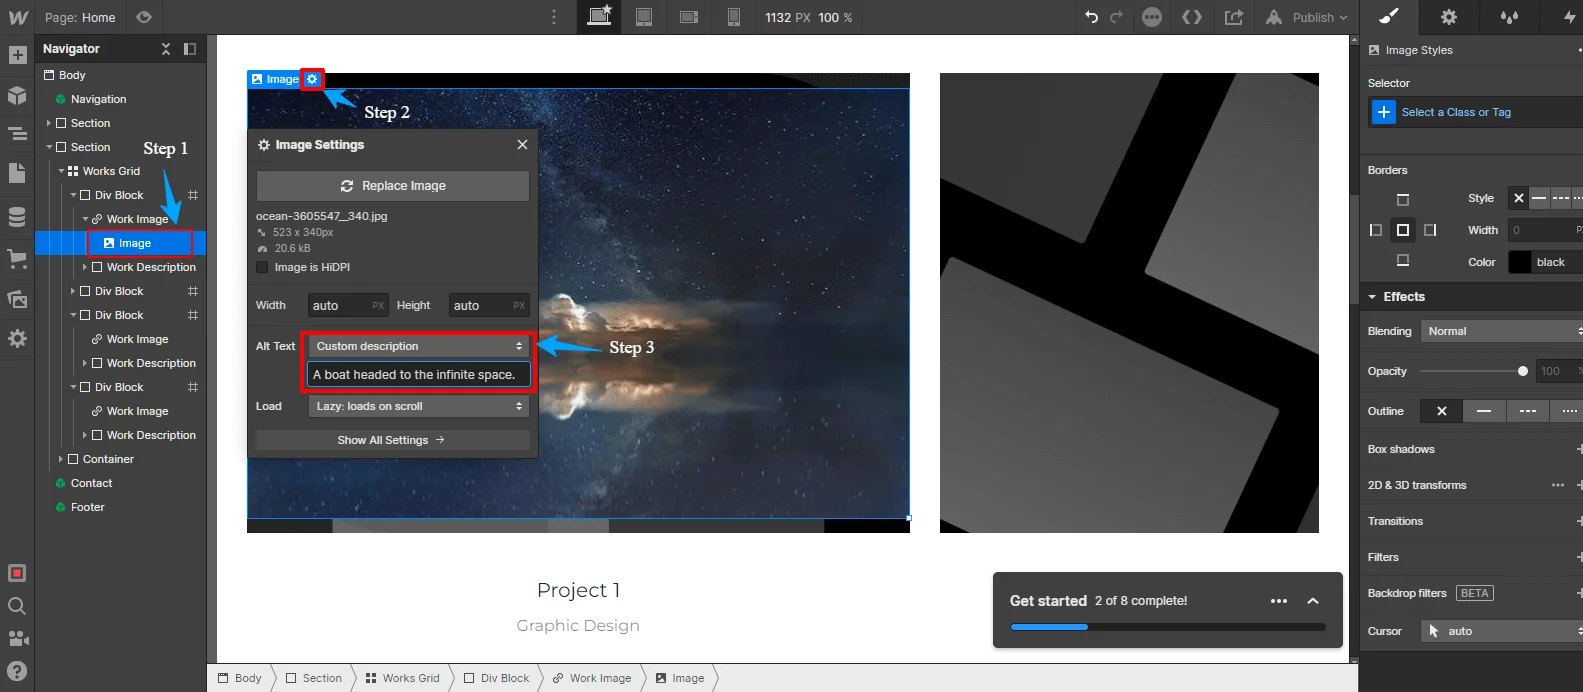
The visual content (images) always gains more views and therefore, it has been an adopted practice to add more meaningful images. But, how would we know that our efforts of creating a blog with these images are being read by people?
Well! you can understand this by implementing SEO in your images so that your blog gets ranked at the top thereby giving you more views. Alt-Text is a way through which Google recognizes your images. It is a SEO-friendly description of your image, that not only helps Google but also someone with a vision disability.
You can add Alt-Text to images in Webflow by,
Error 404 is a direct result of the old link not being redirected to the new one. The reason for this might be,
This can have a negative impact on the SEO ranking of your website as Google crawlers won’t be able to scan your website.

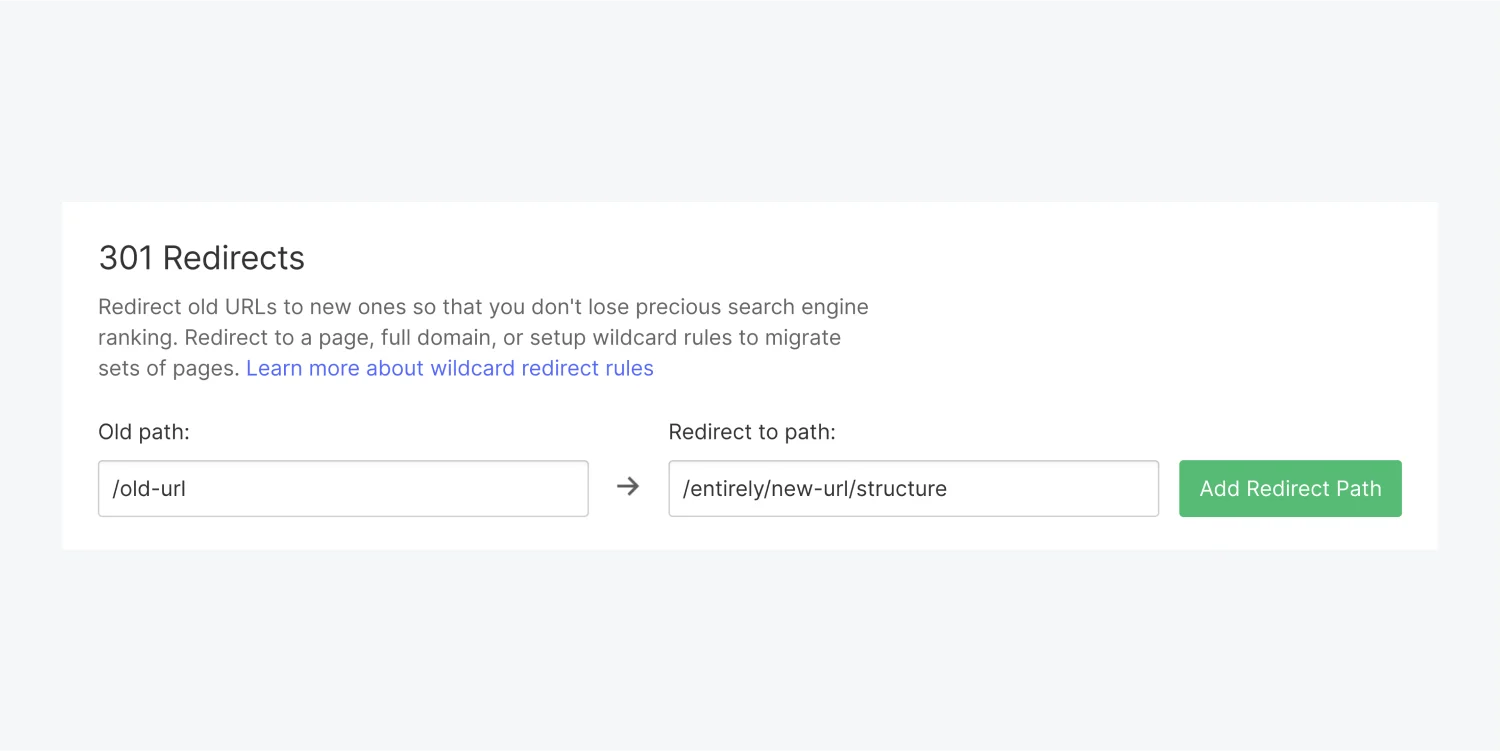
However, this abrupt situation can be countered easily by the ‘301 redirect’ in Webflow.
301 redirect considers the pathway of both old and new URLs so that whenever a user clicks on the old URL, he will be automatically redirected to the new URL. A 301 redirected URL also helps the website be SEO friendly as the Google crawlers recognize the website easily.
To set this up in Webflow,

Webflow is gaining popularity because of its No Code CMS (Content Management System). However, many features of Webflow that help you scale your web design might go unnoticed. Remember our tips and tricks to get the most out of Webflow.
Happy Designing 🙂


